
Plan meals
Plan a recipe for a particular day and serving count, then use its ingredients in Shopping.
Add a meal
- Open a recipe and choose Plan meal, or open Plan → Add meal.
- Choose the recipe, date, meal and servings.
- Choose Save meal.
- Check that the meal appears on the intended day. Use the week arrows to view a different week.
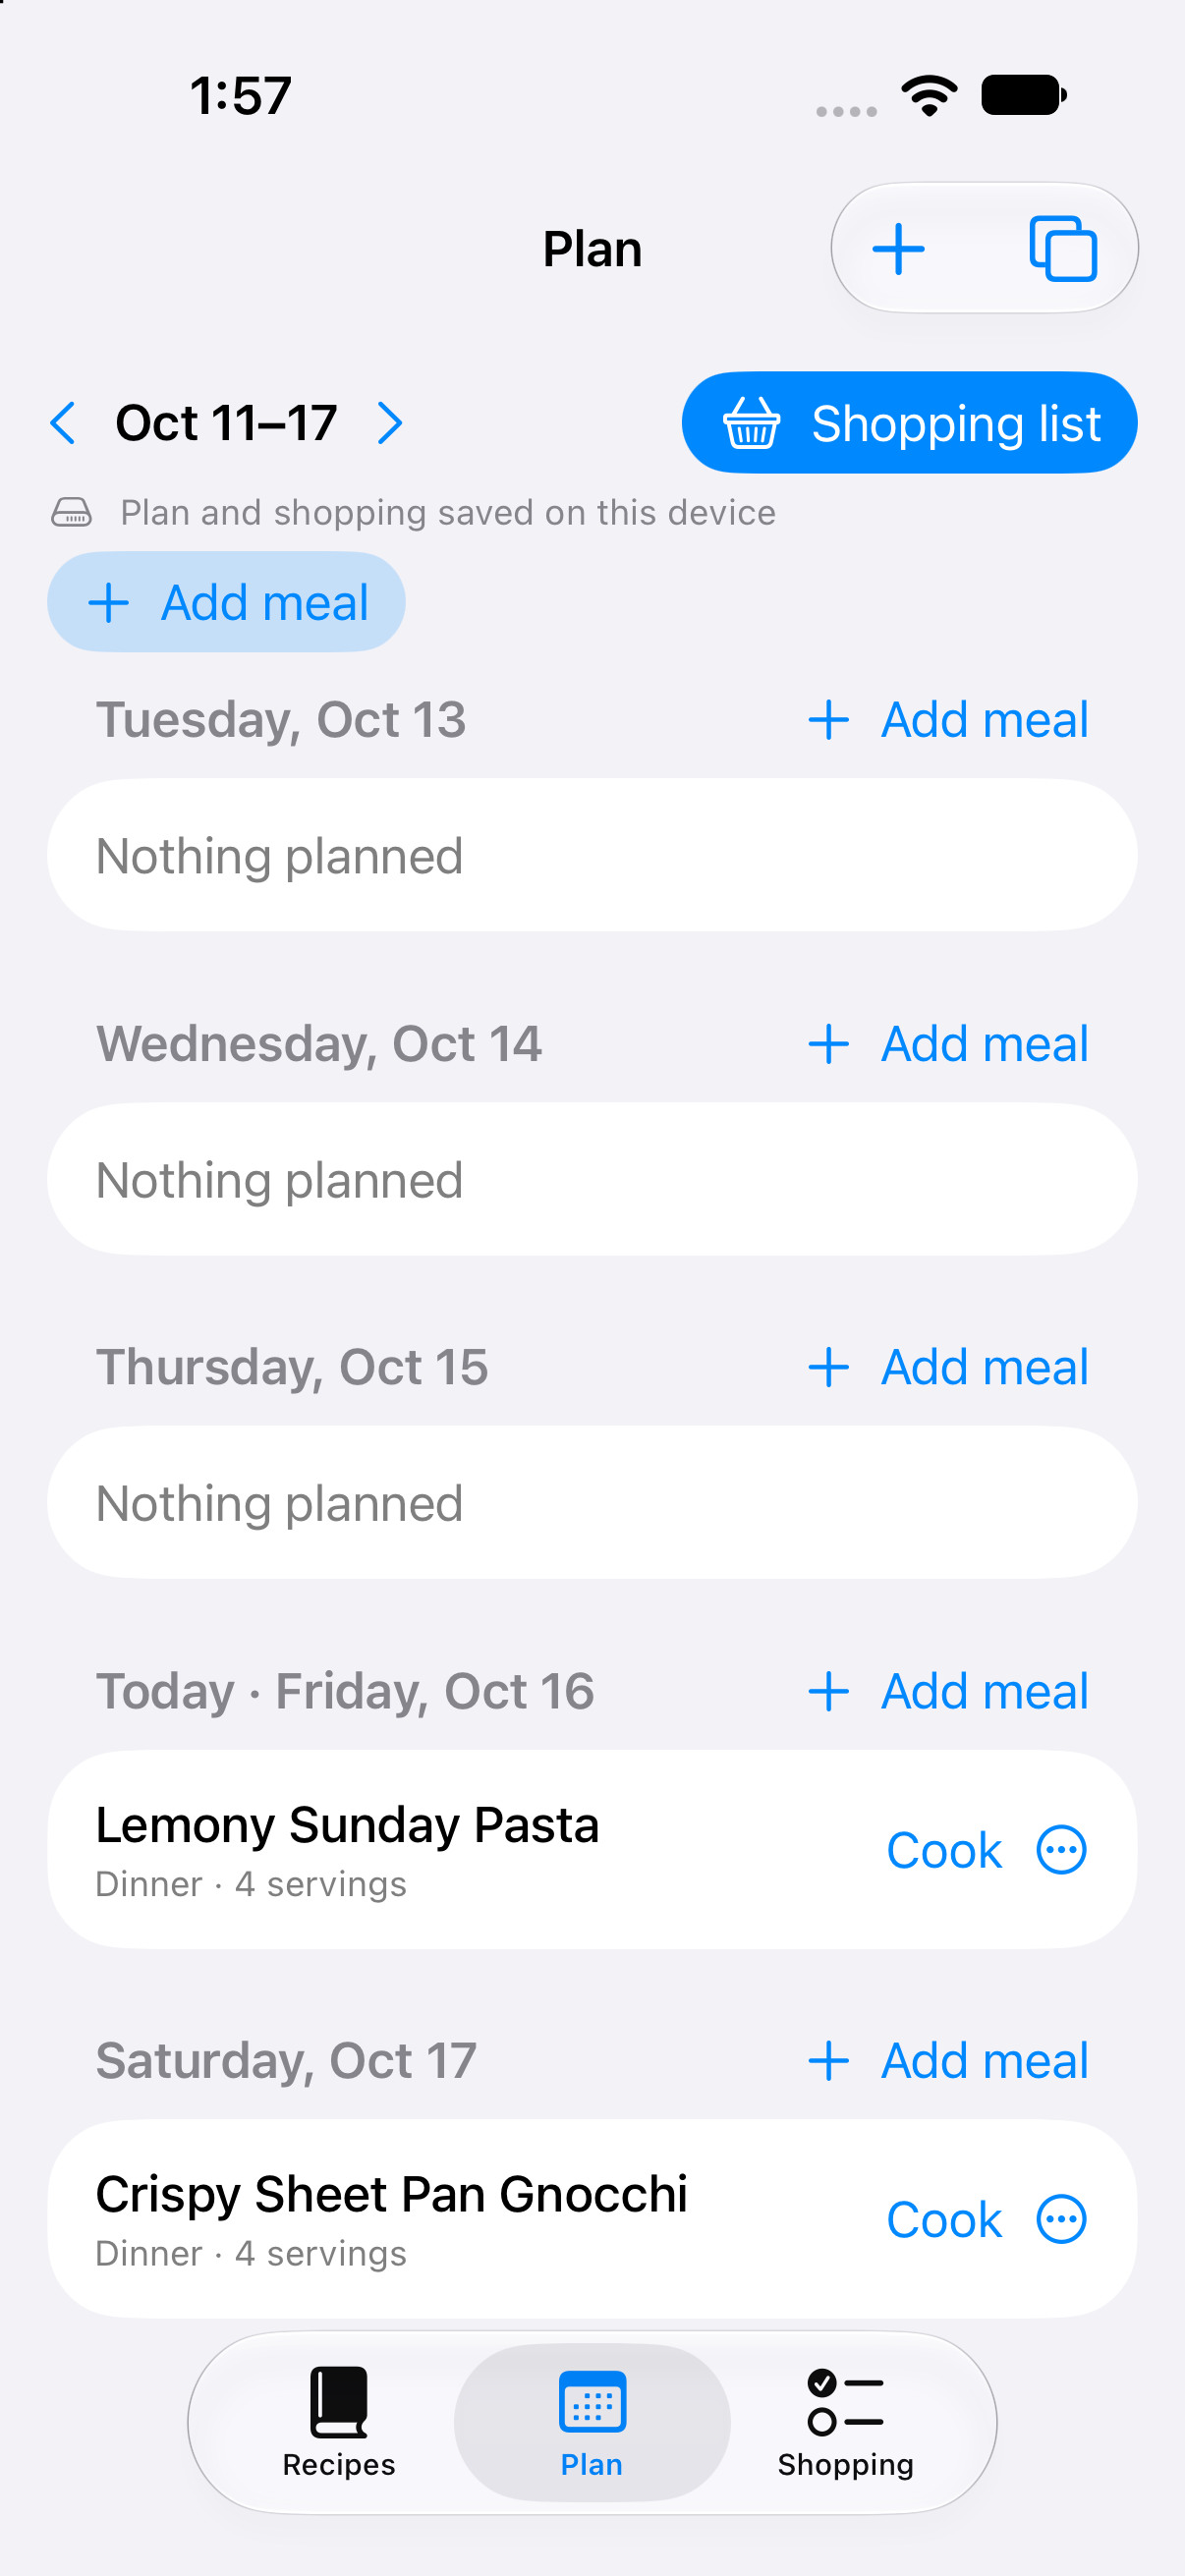
Check the day and servings under each planned meal. Tap Cook when you are ready, or Add meal to fill another day.
The planned serving count can differ from the recipe's original count. If the recipe's yield is unclear, review it before relying on scaled amounts.
Change a plan
Open a meal's options and choose Edit meal to change its date, servings or meal label. Remove meal removes the planned occurrence, not the recipe.
Copy or move meal lets you choose a destination date. Copy or move week keeps each selected meal's offset within the week. Copy leaves the original plan in place; Move changes its dates. Review the proposed changes before choosing Apply. Try batch changes with a disposable plan first during beta.
If an edit reports that the meal changed elsewhere, close the stale editor, reopen the current meal and review the latest values. Do not repeatedly submit an old draft.
From Plan to dinner
Open Shopping to see ingredients for the selected planning range. The date range appears at the top of the list. Return to Plan and choose Cook on the meal when you are ready.
If that recipe already has a cooking session, Risoni may offer the saved serving count or a fresh session for today's plan. A fresh start ends the previous session's timers and ingredient checks; Resume keeps your place.